Asset Painter
Introducing Asset Painter
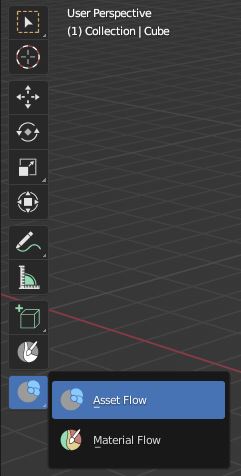
Asset Painter is the tool to scatter the randomized assets precisely into your scene. Asset Painter can be found among the T-tools, you can also enable this tool by pressing [ key on the keyboard
Important!
Since Flow 3.0 Asset Painter has been moved from the panel into the tool. You can still enable Asset Painter panel in the Flow preferences, but it will be no longer supported!

Paint with assets from Flow Library
You can use any asset from your Flow library to paint it to your scene. Simply select the Category / Subcategory and select the asset.
 - To place the asset in your scene, press CTRL + LMB over the desired spot
- You can also Click & Drag CTRL+LMB for continous placing of the assets with the specified Draw Step
- To place the asset in your scene, press CTRL + LMB over the desired spot
- You can also Click & Drag CTRL+LMB for continous placing of the assets with the specified Draw Step
Basic Painter settings

Painting Target
[Optional] Select the object, that you want to be painting on. Supports only editable meshes, any other objects types will not work properly. If the target is selected, objects will be placed on it even when it's covered by other objects. It is recommended to use target, the plugin will ignore any other objects on the scene, placing the assets only on the desired object. - To set the painting target, select the object from the list, that will appear when clicking the box, or use the eydropper tool - To set ACTIVE object as target, press the arrow buton next to the target box.
It is strongly recommended to use target object to avoid unexpected painting results.
Scale randomization range
Set the randomization scale that will be used by the plugin. This setting will affect the LOCAL scale.
Rotation randomization
Set the randomization range of the rotation. Value 1 equals [-180deg, -180deg] randomization range for the selected local axis.
Draw step
Set the draw step in the continous painting.
Snap to face
Click the button if you want your assets to be aligned to the target face.
Asset Direction
Select the initial direction of the asset - this direction should be perpendicular to the target face. For example, objects like trees, stones, etc. will use 'TOP' direction. Any 'hanging' objects like lamps should use 'BOTTOM' direction. Objects facing front should use 'FRONT' direction.
Using Asset Painter
To place the selected object / objects, run Asset Painter by clicking 'Start Painting!' on the bottom of the box in the Flow Asset Painter panel. Then start painting the asset on your scene.
- Single left-click will place the single asset on your target
- Click & Drag to continously paint with the selected assets. Be cautious not to use objects, that may be too complex for your computer, as it may cause crashing Blender
- Right-click or Escape to stop the Asset Painter - it is necessary to do any other works to your scene
- You may use navigation and switch between shading modes while Asset Painter is running
Painting Modes
Asset Painter comes with three painting modes, each of them uses the different source to place the asset.
Library - default
Within this mode, user picks the single asset from one of the connected Flow Libraries. Only this currently selected single asset is used for painting operation. User can also add the selected asset to the Painter Collection directly from this mode.
Selected objects
With selected objects mode, Asset Painter uses for painting one of the selected objects. If more than one object is selected, Asset Painter will randomly select one of them for each placement.
Paitner Collections
Painter Collections mode is the fresh mode introduced since Flow 3.0. With this mode, Asset Painter source is one object from within the pre-created painter collections.
Asset Painter is using the Painter Collections, that are linked only to the current .blend file. They are not the same as default Blender Collections, though they are basing on that system. While creating painter collections, user should use the Flow addon for doing this to avoid unexpected results!
Collection Selector
With collection selector box, user will pick the painter collection for painting. If there are no collections in the current file, there will be a proper notification in the UI.
Collection Settings
If there is a collection selected, user will be able to see the Collection Settings subpanel. There, all the objects from within the collection will be visible, with some settings connected to each of them.
Main Object
There are two types of objects in every collection - one Main Object and all the other objects. There always must be a main object, for which probability will always be 1.0. The Main Object will be marked with the filled star icon, next to it's name. To select another object as main, user should press the outlined star icon.
Probability
Except the main object, for which probability is always set for 1.0, for all the other objects user can set the probability value. It symbolizes, how often should the specified object appear in the Asset Painter operation. So the smaller values means that objects will be drawed less frequently than the objects with the higher probability.
Base Scale
In Collection Painting mode, user can set the extra base scale for each of the objects. It means that Object's base scale will be later multiplied by Asset Painter Settings Base Scale and then the randomization multiplier will be applied.
Use Custom Randomization
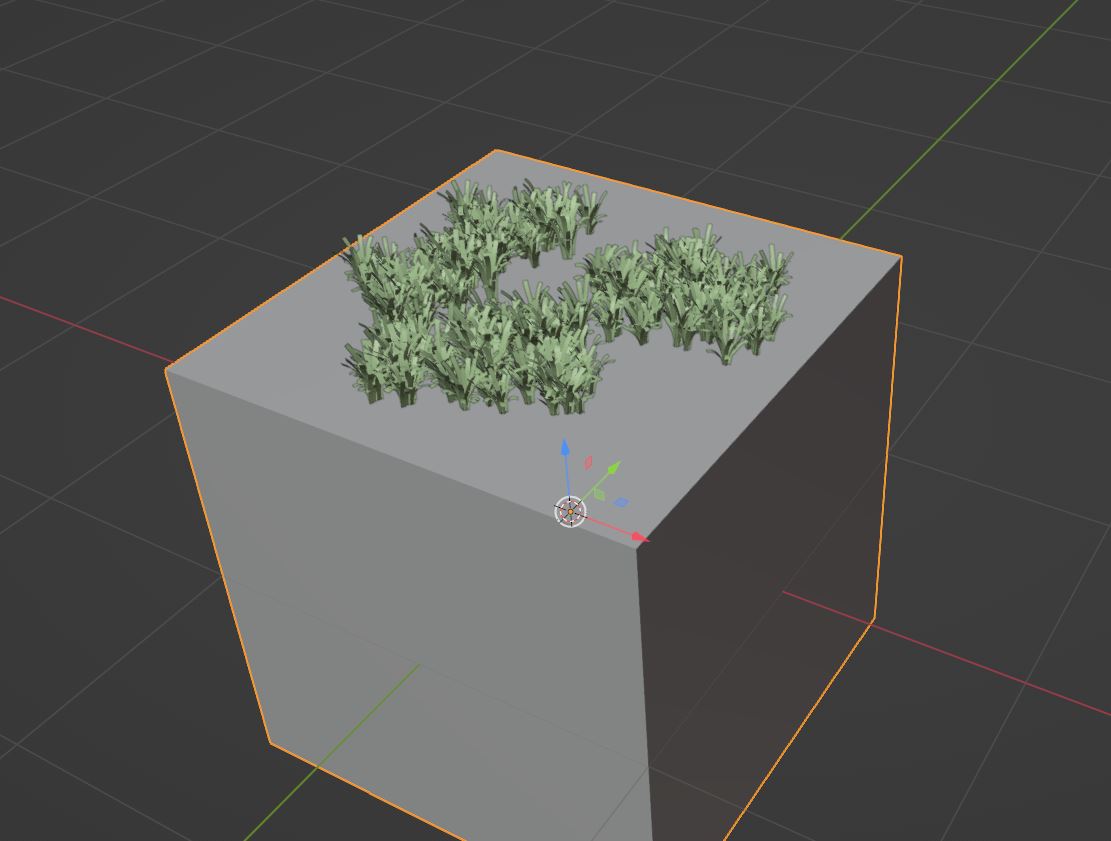
For Collection objects, user can choose if it will be using the main Asset Painter settings, or if the object will use it's personalized settings. For example, if user want to paint grasses, that will randomly rotate only around the local Z axis, but wants to paint rocks with full rotation randomization, he can enable the Custom randomization for those rocks.
Use for painting
User can disable or enable specified object from painting, by toggling the Brushes icon next to the objects name. This setup does not apply for the currently main object. If you want to disable current main object from painting, you should mark another object as main first.
Adding Objects to Painter Collections
To build up the Painter Collection, user should first add objects to it. This can be done multiple ways: - By clicking the button Add to Painter Collection in the Library mode - By clicking Add item to Collection in the Collection Mode - By clicking Add item to Painter Collection in the current Collection settings Each of this operation works exactly the same way. The popup window for selecting the asset will appear. You can select any asset from the library or pick if to use the objects currently selected in the 3d Viewport. Then simply select the collection that you want to add your object into or type the name for the new one.
Loading / Saving the Collections to the Flow Library
User can save and load the Painter Collections to the connected Flow Library. This operators can be found in the end of the Collection Mode UI.
Warning!
The Collections will be always saved with all contained objects! So be sure if you also want to include the large-sized models within, as collection filesize may significantly increase!
WARNINGS!
- It is highly recommended to save frequently, when you are using asset painter. Some operations made by AP may be too complex for your computer and may cause Blender to crash!