Using the Asset & Material Library
Adding the Assets from Library
The new easier method for adding assets
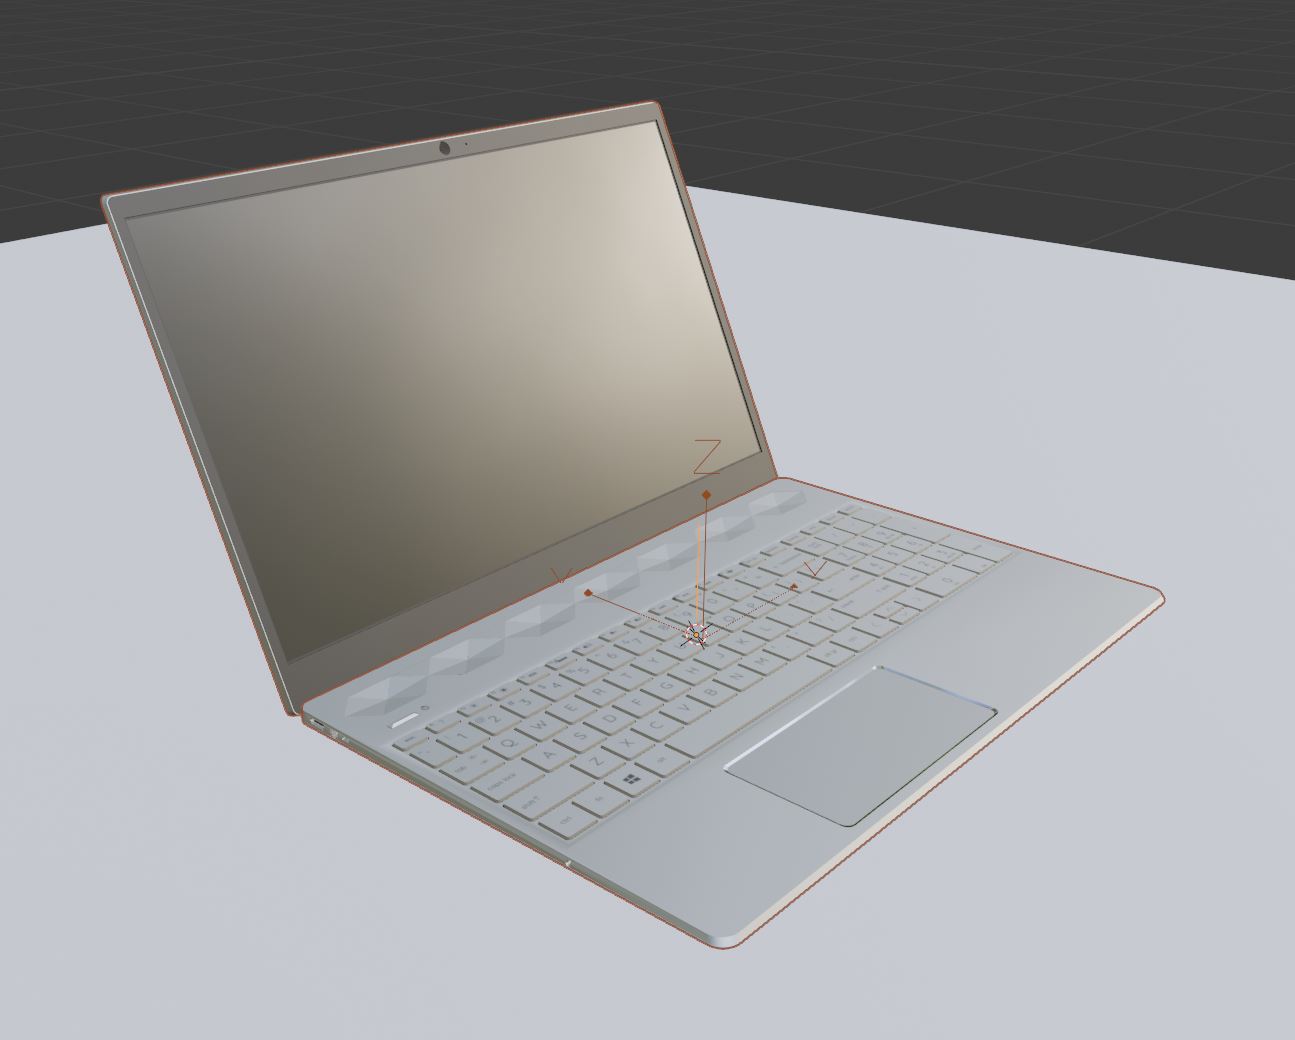
You can also have the Asset Painter tool active to add the new assets into the 3d Cursor. This method is probably more comfortable to use, than the old one. To add the asset, simply select one in the toolbar, place the 3d cursor on the desired spot and click Place on 3D Cursor button in the toolbar

When using this method, the Asset Painter randomization settings WILL NOT be applied into the placed asset, so it will work exactly the same way as the old operator.
- To add the object in the desired spot, you first need to place the 3d Cursor (Shift + RMB in Blender 2.8+). Then click 'Add Object from Library', select the category and object, then click OK to place the asset.
- By default, the asset instance will be appended to your local file library, so you could adjust the properties. If you don't need the properties and you want to keep file smaller, check 'Link the instance'
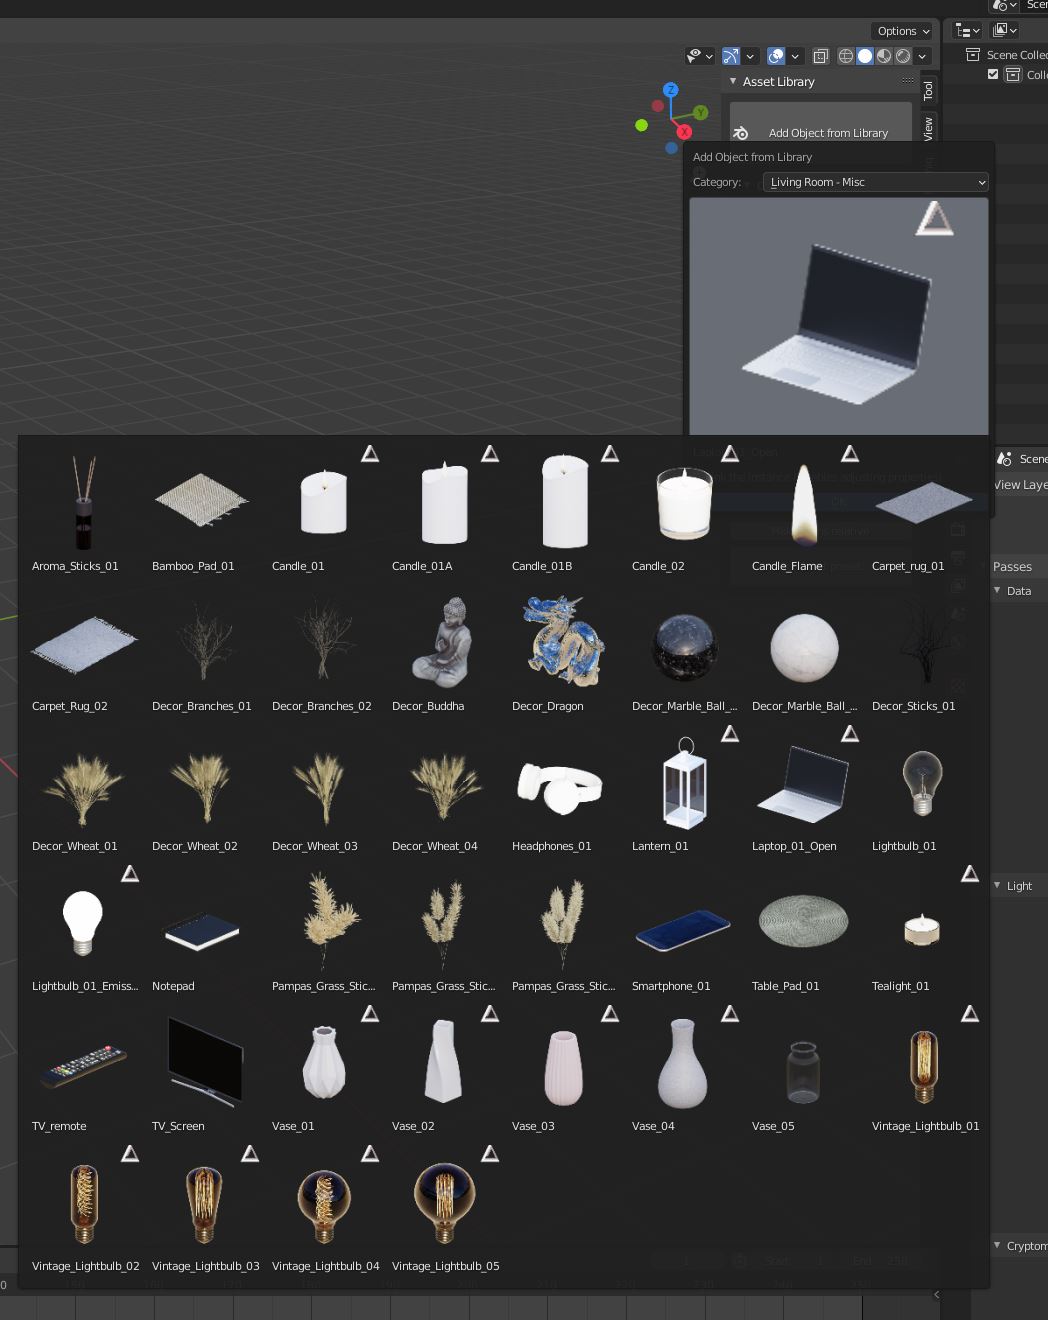
Adding the assets is available from:
- Asset Painter Tool
- Flow Panel
- Blender Asset Browser
- 'Add Object' Menu (Shift + A)
- Flow Main Menu (Ctrl + Shift + X)
- Adding the assets is available only in 'Object Mode'

Local vs. Linked Asset
By default, the asset instance collection is appended to the library, so you could adjust it's built-in properties. This unfortunately slightly increases your filesize, so there is an option of linking the instance. Your Blender project will then 'read' the instance collection from the root file, but you will not be able to adjust it's properties, only the color (if any material inside is using the 'Object info > Color' node).

Make Instances Local
Custom Properties are not adjustable, if the assets are linked from another file. To be able to use the properties for previously linked instance, you need to make it local. Function 'Make Instances Local' will make ALL linked instance collections local and may increase your file size if you use a lot of various types of objects!
Warning!
'Make Instances Local' will convert ALL linked instance collections to the local ones, not only the selected one.
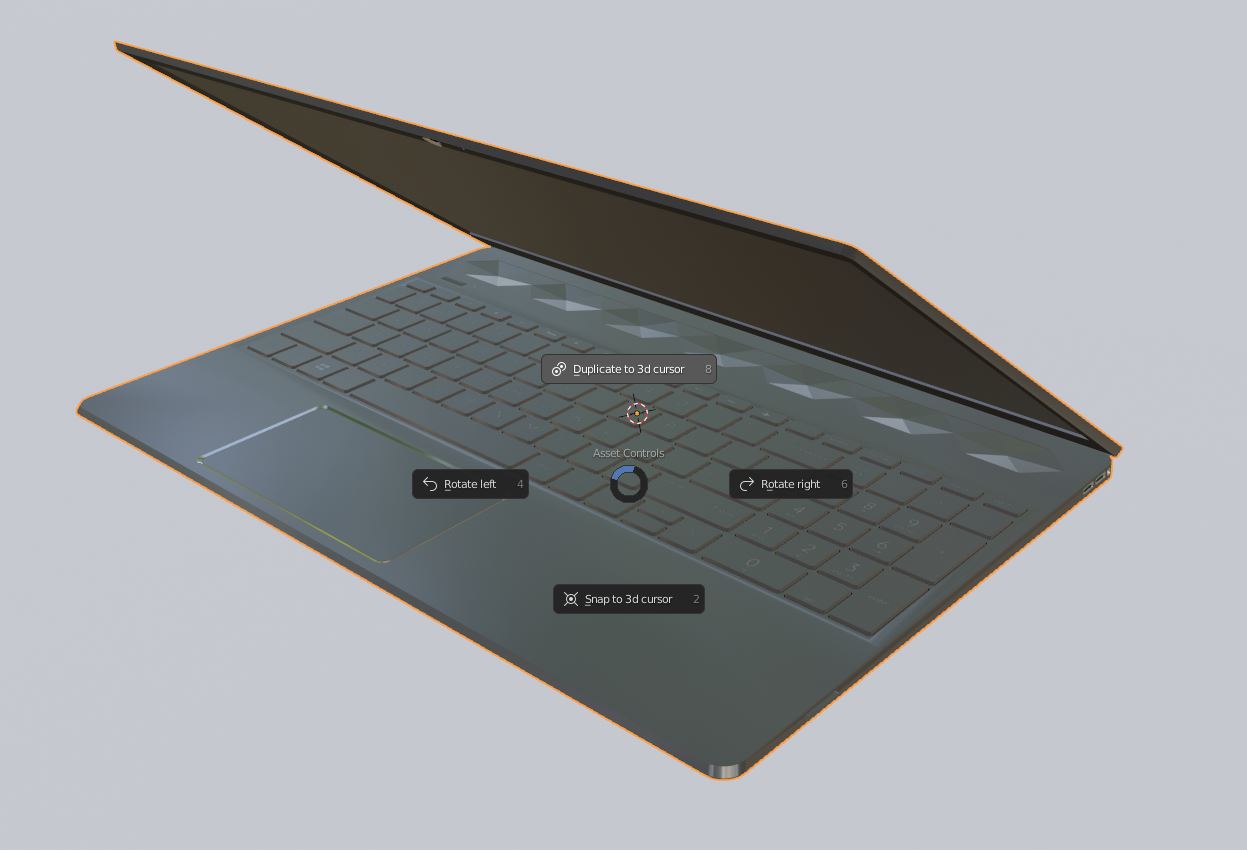
Handy controls
Handy controls are the simple handy transforms, provided by Interior Essentials to speed up the workflow. You may use it to any type of the objects, not only the assets from our library.
Rotate Left / Right
This function will rotate the selected object 90 degrees left or right.
Duplicate to 3d Cursor
Function duplicates the selected objects to the 3d Cursor. Objects will snap to the 3d cursor with the origin of the active object.
Move to 3d Cursor
Function will move the selected objects to the 3d Cursor. Objects will snap to the 3d cursor with the origin of the active object.
Shortcuts
Handy controls can be found in:
- Interior Essentials Panel
- IE Controls Pie Menu (Ctrl + X)
- Interior Essentials Menu (Ctrl + Shift + X)
- Duplicate do 3d Cursor is also available directly via Ctrl + Shift + D

Adding Materials from Library
Flow Material Painter is the best way for precise adding the materials into the meshes. You can find out more about the Material Painter HERE
Panel Method
The 'Material Library' Panel is available only when the active object is the editable type with the possibility of adding the materials. So you will not see the panel if the active object is one of the assets (if it wasn't converted to editable)

Valid Object types:
- Mesh
- Curve
- Surface
- Text
Object Mode
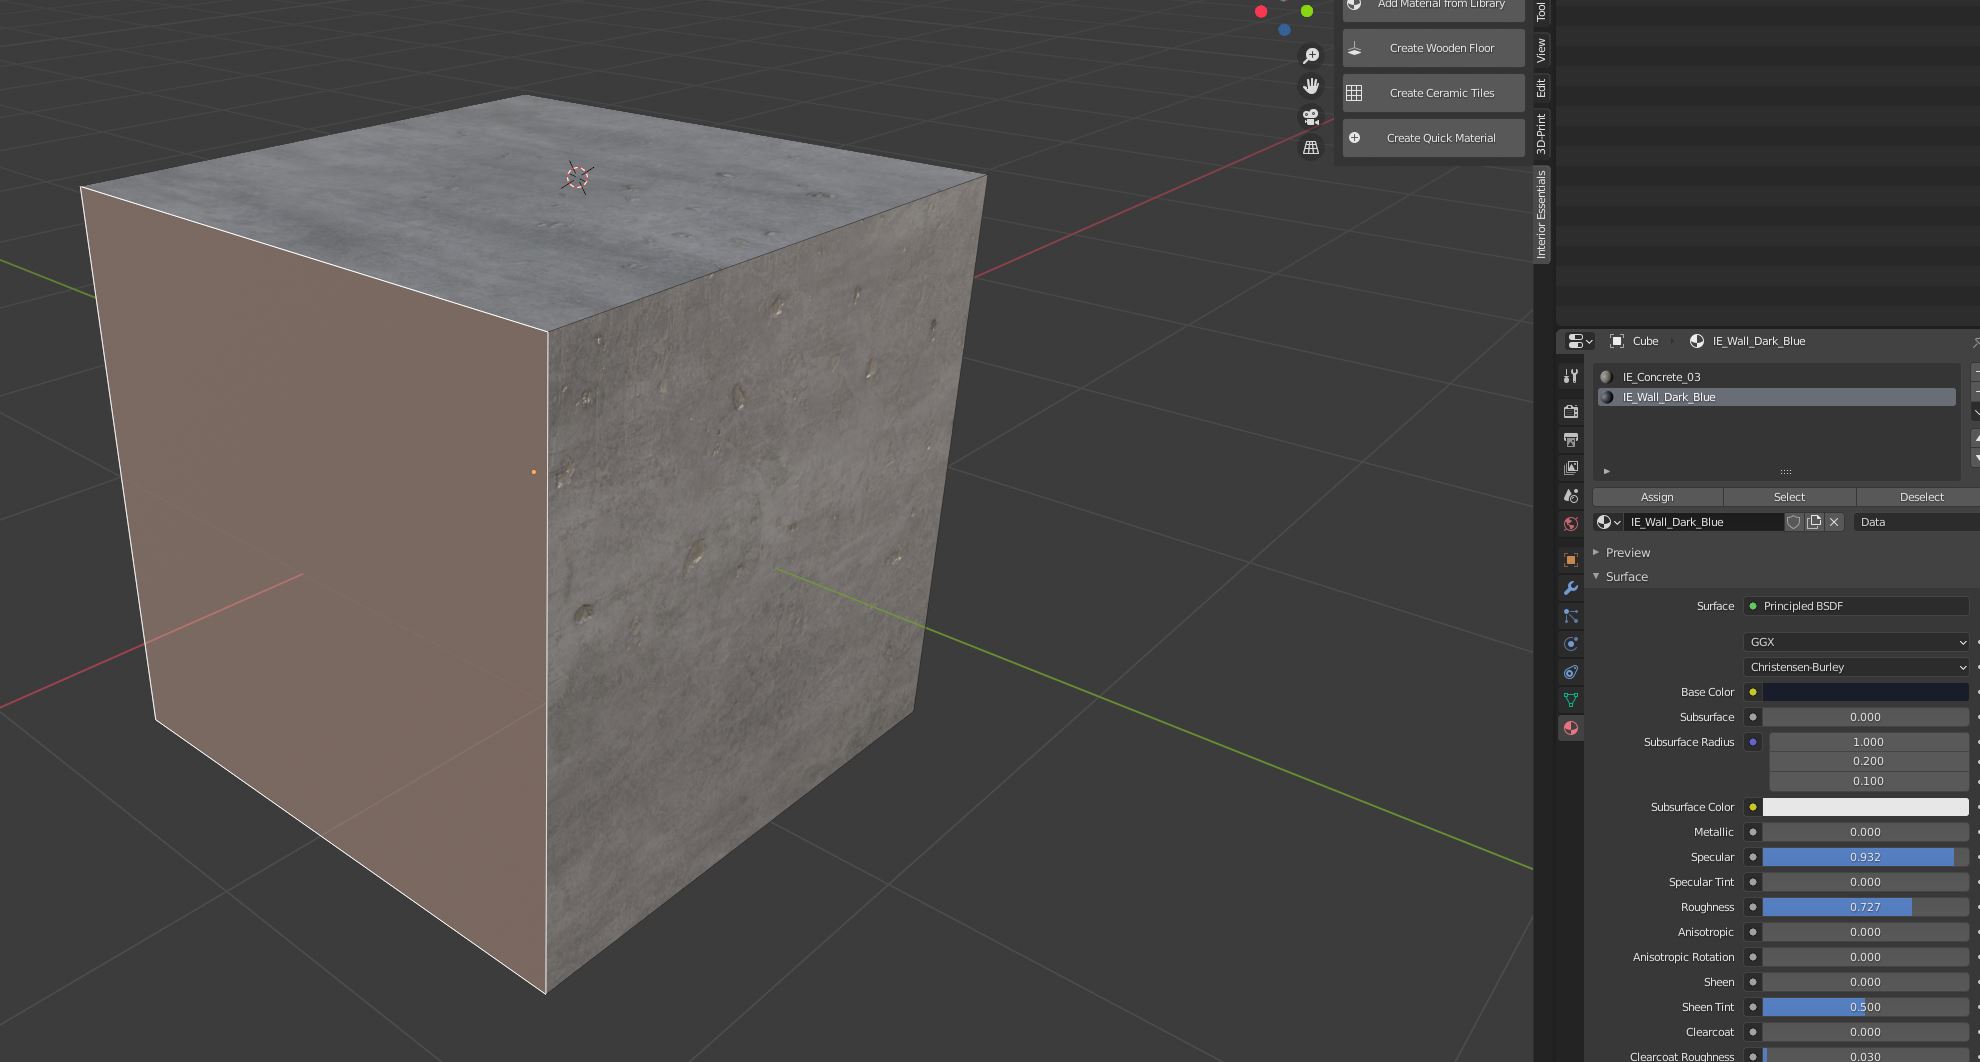
- To add material from library, select the object, then select the desired material slot to replace, then click "Add Material from Library", choose the material, then click OK to add the material.
- The material will be added to the selected material slot. If active object has no material slots yet, the slot will be created and the selected material added to this slot.
- If the chosen material is already in the library, the material will not load as a duplicate, it will be replaced by the existing material. This allows you to add the same material via the plugin many times without duplicating it.
Edit Mode
- To add material from library, select the object, then select the desired material slot to replace, then click "Add Material from Library", choose the material, then click OK to add the material.
- The material will be added to the selected faces. If the selected material is already in one of the slots, the selected faces will assign to this slot.
- If no faces are selected, the selected material will append in the end of the material slots.
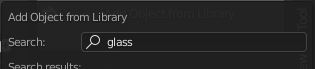
Searching for the assets
Flow 2.2 provides the new assets search. If you type anything inside the searchbar, the plugin will automatically search for the provided input inside your library. You don't need to type the whole name, plugin should find even the part of your name.
To search for the asset, type it's name in the searchbar and click ENTER
Important! When searching for the assets, browsing categories and subcategories will be impossible! To return to the initial browsing, just erase the search input and click Enter
Asset searching is provided in Assets, Materials and Textures Libraries