Textures Library
Flow 2.2 introduces the new textures management, similiar to other assets management. Flow Texture Tools are available in the Flow panel in the Shader Editor.

Textures Management
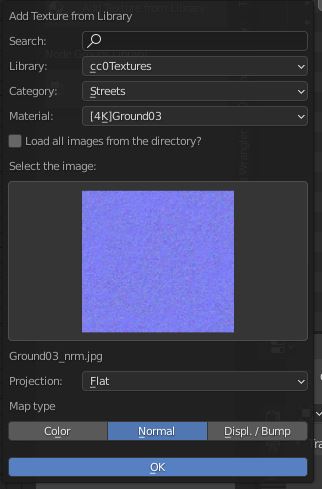
Add Texture from Library
Click 'Add Texture' from library and select your desired category. You may now add just one image, by selecting it or clicking OK or you can choose to load all images from the selected folder. You can also run this operator by clicking CTRL+X in the Shader Editor
Options
- Load all images from the directory - choose this option if you want to batch-load all the textures from the selected directory. Image selection below will not change anything - it's just left for previewing. Map types will be set automatically, depending on the file names. Texture Coordinate and Mapping nodes will be added automatically, depending on the projection type, you choose.
-
Projection - projection type. If you are using UV maps, select Flat. If you want your texture to be set procedurally, select Box / Sphere / Tube.
-
Map type - not available when loading all (type will be set automatically). Select selected images type. Normal will automatically set color space for 'Non-Color' and add Normal Map node alongside your texture. Displacement / Bump option will change your images color space for 'Filmic Log'
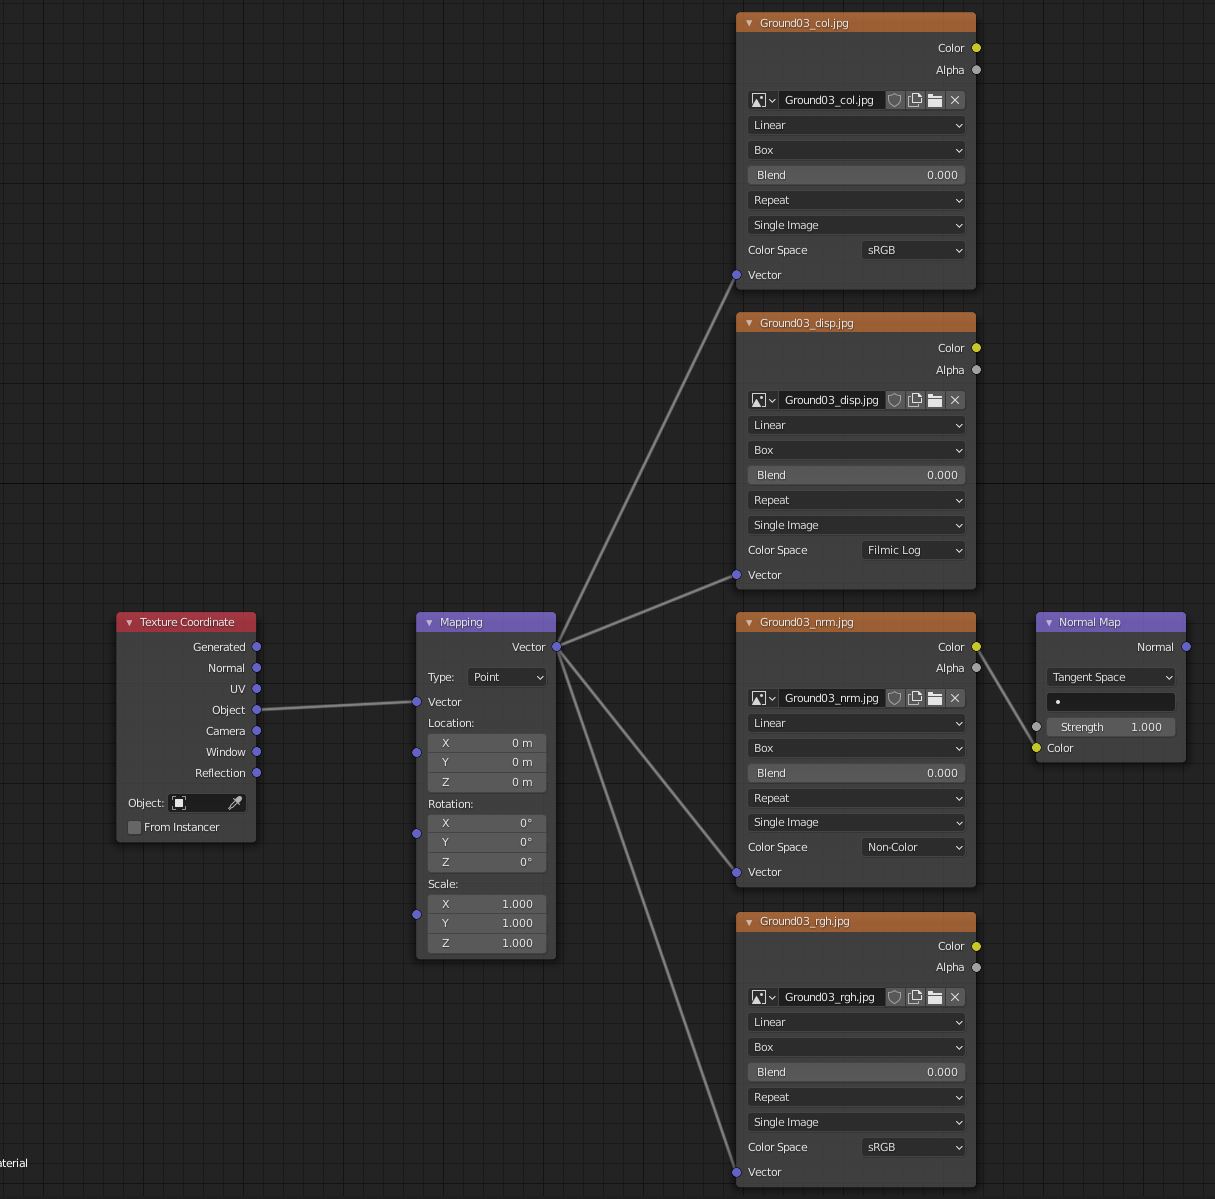
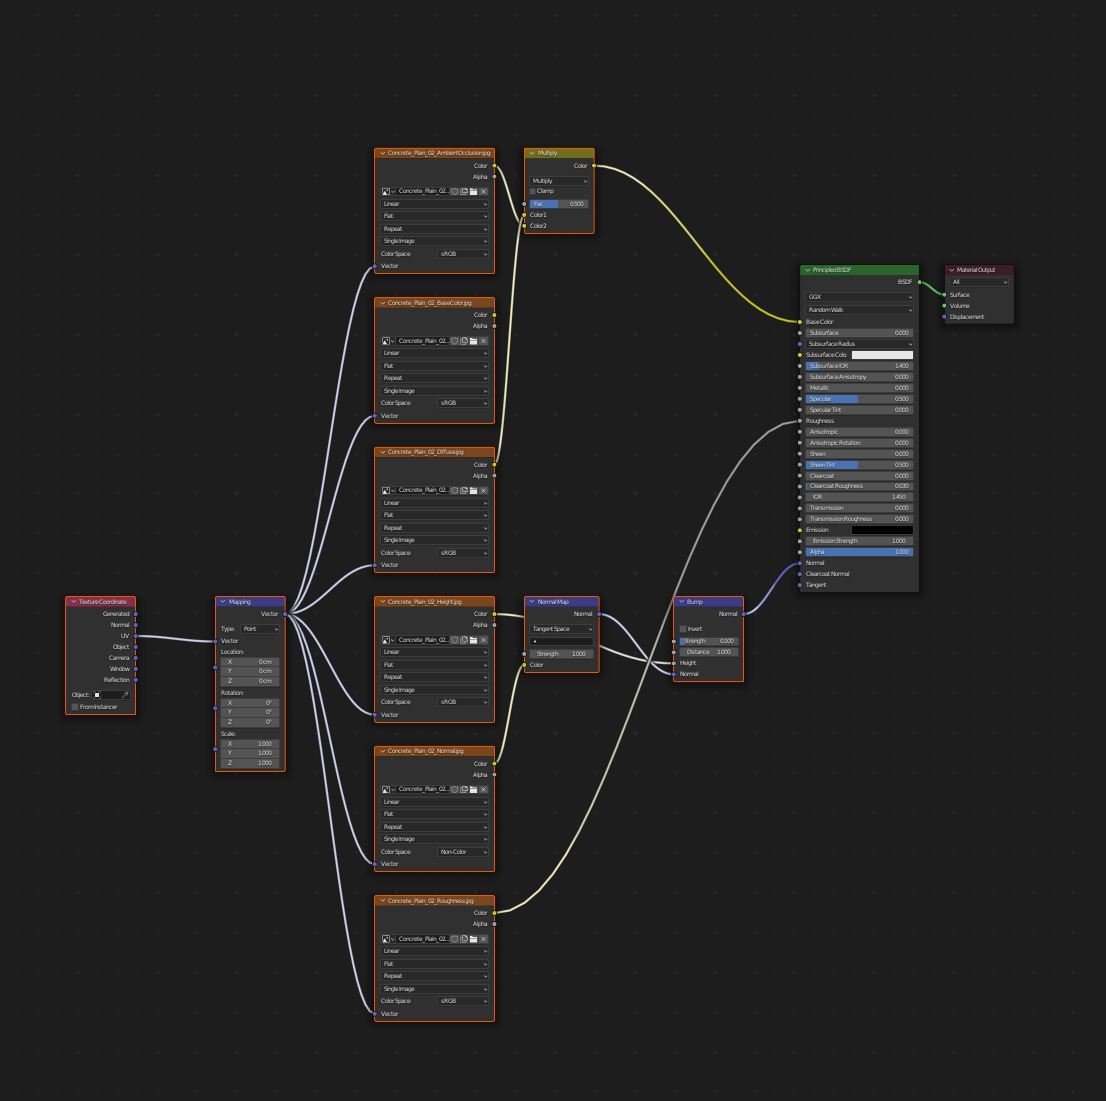
Auto Connect
Flow can auto-connect the loaded texture to the selected node. To use it, first select the node before running the 'Load Texture' operator. Then run the operator with CTRL+X or from the panel, go to the desired folder and check 'Load All images from the Directory' or select the desired texture. The images should be automatically connected to the selected node, if they contain in their filename:
- Color / Diffuse textures: 'col', 'color', 'diff', 'diffuse'
- Ambient Occlusion: 'ao', 'ambientocclusion'
- Metallic: 'metallic', 'metalness'
- Roughness: 'rgh', 'roughness', 'smoothness'
- Normal Map: 'nrm', 'normal'
- Displacement / Bump: 'bump', 'disp', 'discplacement', 'height'
The letters case doesn't matter! The plugin will be converting all filenames to lowercase to check the texture type
Copy Textures to Library
Select the desired image texture node or few nodes (other types of nodes may be also selected, the plugin will filter the image nodes automatically) and click 'Copy Textures to Library'. Select the desired directory and click OK. The textures will be automatically copied from their initial location to the selected directory in the Flow library.

Node Groups Management
You can also manage your Node Groups with Flow easily
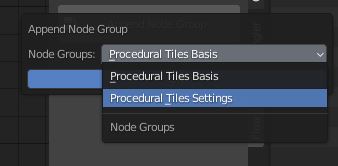
Append Node Group
Select the desired Node Group and click OK. The node group will be added to your material. If the node group already exists in your file, it will not be loaded again, Blender will use the one from your file's data.
Add Node Group to Library
Select the desired node group (selected node group must be the active selection), and click Add Node Group to Library. Enter the new node group name or leave the existing one and click OK. Node group file will be automatically added to the 'node_groups' folder in your Flow Library
